Took about 2-3 hours to build it from scratch including all the tiling work. Not hard to do at all. This builds a VERY
STURDY base that will easily hold up to the weight of the washer/dryer.
NOTE: The dimensions listed below builds a base several inches WIDER than is needed,
but I like the ability to have a few inches available to move or adjust the appliances or gain access to the back / rear panel
if needed. You have the option of making it the EXACT size if needed, but remember the washer and dryer WILL
VIBRATE during their cycles so allow a small gap between them for vibration at the minimum.
TOOL LIST (For base):
Chop saw (Miter saw)
Drill / Screwdriver.
Tape measure
Sharpie / Marking pen
TOOL LIST (For Covering in tile):
Wet saw (Can be rented or tiles cut at your local home center)
Tiles (Ceramic, marble, granite, your choice etc.)
Tile spacers (Helpful but not required)
Thinset mortar
NOTE: Grout is not used
Drill / Screwdriver. Base Materials list: ($50-60)
BASE Materials List: ($50-60)
2"x4"x8' stud lumber (Quantity 10) $20
2'x4' Plywood (Quantity 3) $20-$25
1 box 2 1/2" screws $5
1 box 1 1/2"
screws $5
DIRECTIONS FOR BUILDING BASE:
Cut 2"x4" lumber into following lengths:
59" (6 pieces)
14 1/2" (15 pieces)
27 1/2" (4 pieces)
Build
short walls using 59" lumber for top and bottom horizontal plates and 14 1/2" lumber for vertical studs (Space vertrical studs
at 3/4", 16", 32" 48" and 58 1/4" on center. Screw wall together using 2 1/2" screws. Build a total of 3 of these short walls.
Place
the 3 walls side by side, spaced so the distance from first to last wall is 27 1/2". Usiung the 27 1/2" cut lumber place 1
piece at the bottom INSIDE corners of the short walls. Screw together using 2 1/2" screws. Repeat for each
inside corner (4 total) and this will now look like a box.
Cover box with plywood (Cut to size) and secure with 1 1/2"
screws. You only need to cover the top, front and sides of the box. The bottom sits on the floor and the back is not seen
so you do not need to waste materials covering it (Unless you want to do it). Make sure none of the plywood edges hang over
as it will impact how the tiles sit. As a matter of fact I kept the plywood a little "Short" by 1/4" just to make sure the
tiles sit properly. If you are not tiling and just want to paint it, cut edges flush to exact size. Make sure screws that
hold plywood are just slightly below the plywood surface and don't stick up.
Place box in area where it will sit. You
won't be able to move it easily after tiles are in place as it will be pretty heavy.
Install tile using thinset mortar
(You'll need 1 large bucket) Starting from top corner that will be most visible. Place a tile on the front corner and allow
it to hang over the edge on the front and on the side so that when a tile is placed below it on the front and side it will
be flush. This creates a nice finished look. After top corner tile is placed correctly, tile top edge allowing for same overhang
on front edge. Then the rest of the top. You will need to cut some straght tiles to finish off the back edge of the top. Or
build the base deeper to accomodate the size of your tiles so no cutting is required. Next, tile the front edge below the
first top tile you set. Allow it to hang over the side edge, so again it will sit flush when the side tiles are installed.
Install all front tiles. Then install all side tiles.
You are now done.
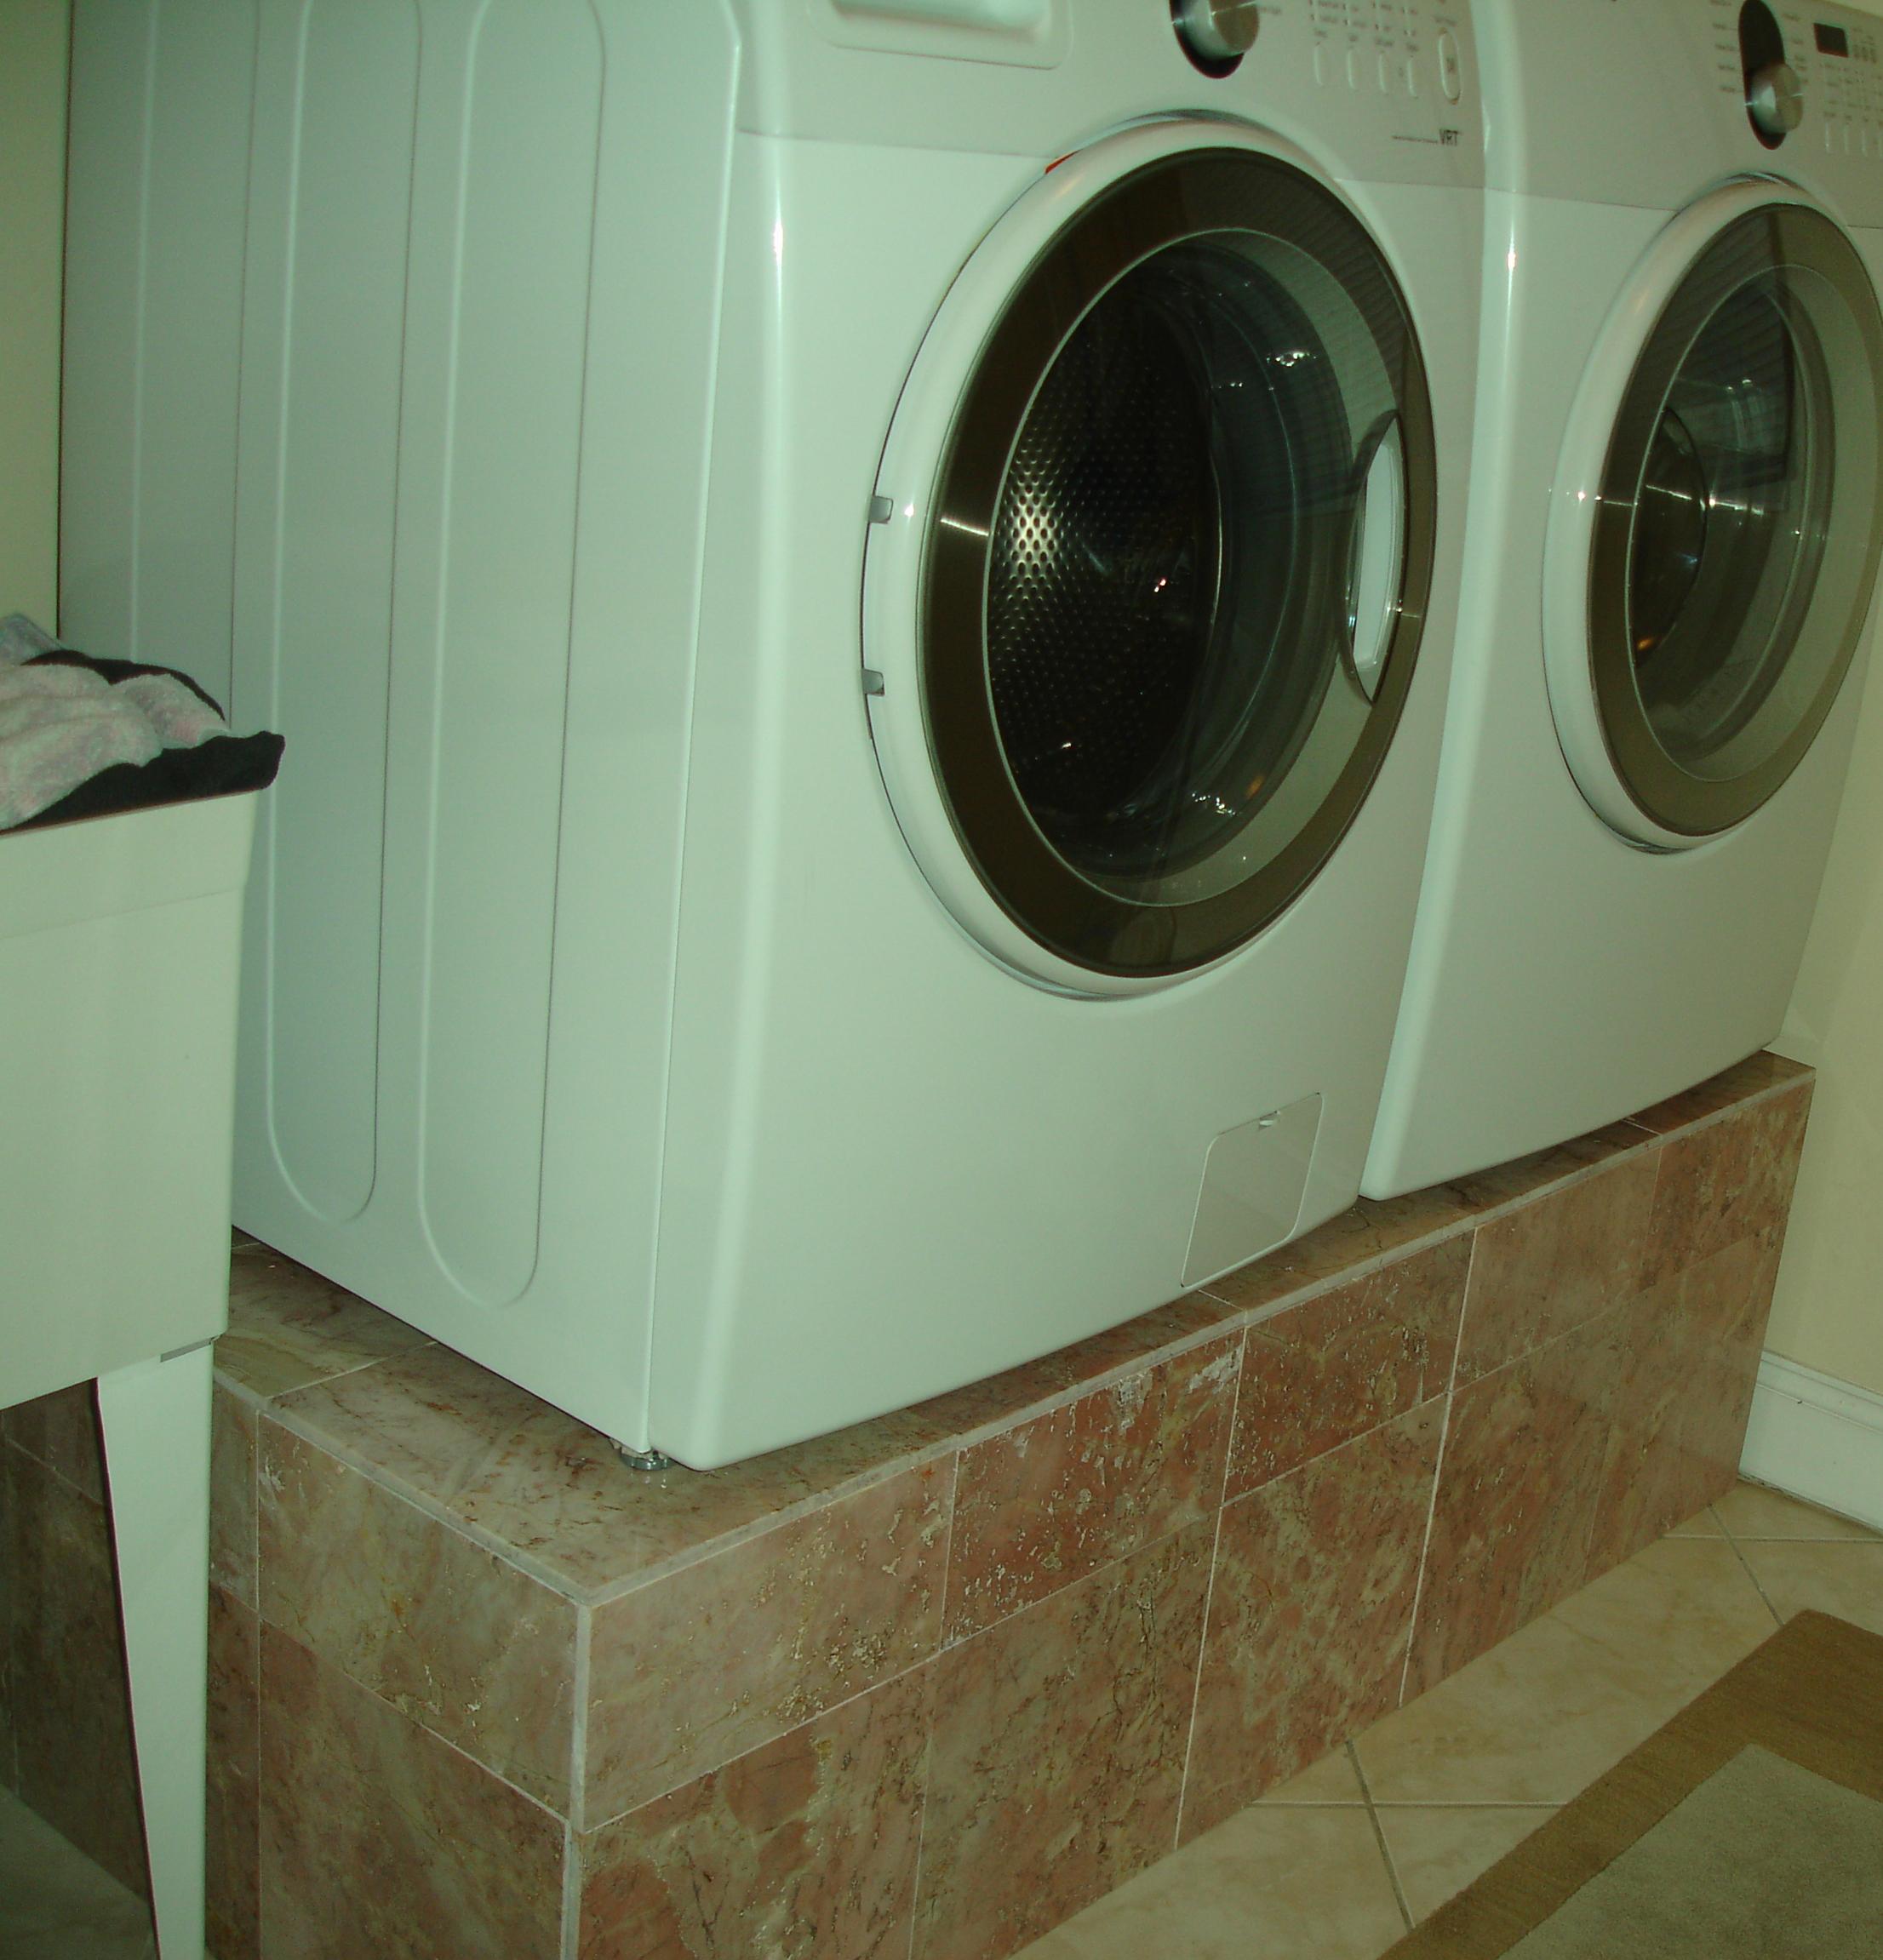
This will create a pedestal that is
60" long x 28" deep and 18" tall. You can adjust the dimensions as needed (Shorter or longer). You need a minium of 55" width
to accomodate the washer and dryer side by side. I like it a little wider since the washer does vibrate in place and if placed
right next to dryer they will come in contact. You need a minimum of 28" depth. Height can be adjusted as high or low as you
would like (Personal preference). I am tall so I built it a little higher. For me, 6" tall, the 18" pedestal height puts the
doors at a height for me where there is minimal bending.
FINISHES:
You can make it out of anything you like.
MARBLE / GRANITE TILE:
I chose marble tiles. I needed 30 sq. ft. I got marble on clearance from Home Depot for $3 sq. ft. ($90 total). I
like marble or granite tiles because they are solid along the edge since this will show
CERAMIC TILE:
Prices vary widely depending on the tile ,but cheap / basic tiles should be $1 / sq. ft. or less. So figure no more
than $30.
VINYL TILE:
Inexpensive, probably less than $1 sq. ft. Just cut to size. Exposed edges may not look as "Finished" as with thicker
tiles.
TILE HINTS:
Get a "Smooth" surfaced tile. Stay away from "Uneven" surfaces such as slate since the uneven surfaces will cause the
washer to not be on a sturdy surface.
PAINT:
Cheapest solution. You'll need a quart of primer and a quart of paint. Should cost less than $20.